Thursday, September 22, 2011

New Work by Maura Fox...


This lovely creation is by a fellow Etsian Maura Fox. Unfortunately, Maura's shop is not open yet...but I certainly hope she will consider sharing her creations there. This piece has one of my raku faces as the focal bead/cabochon surrounded by glass seed and bugle beads, crystals and brass wire work. Isn't she gorgeous!!  A perfect nature's child rendered in glass, clay and metal.

Thanks so much Maura for sharing this with me...and letting me post this delightful piece as well:)

Wednesday, September 21, 2011

A Touch of Passion...New Treasury Post


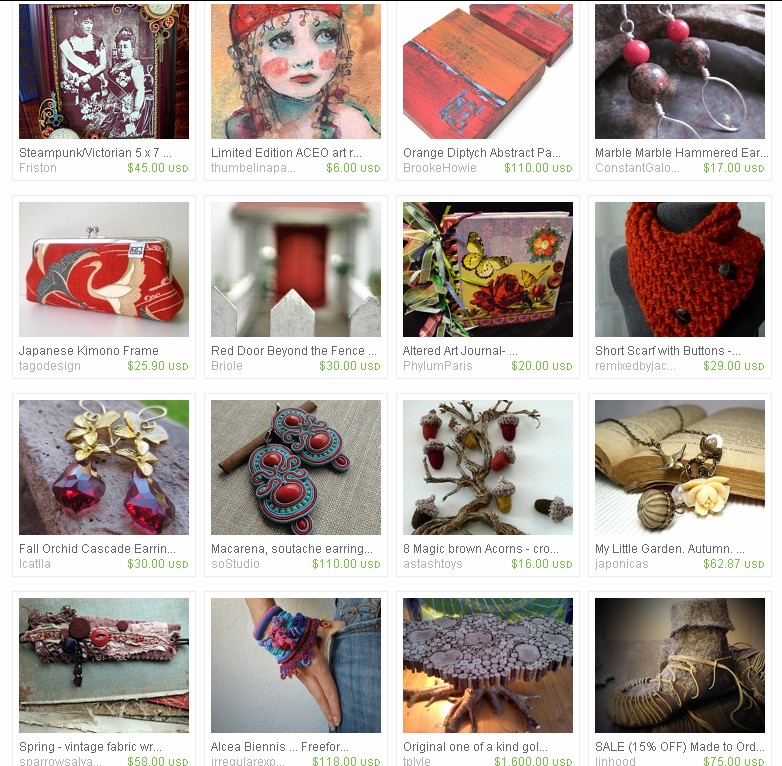
New treasury with some wonderful talent! Click on title above to visit the shops. If you like what you see...hope you will share with your Internet friends on Twitter or Facebook...or your favorite sharing site.

Thanks so much for looking:)

Saturday, September 17, 2011

The Reveal...I'll Show You Mine...If You'll Show Me Yours...

These are the treasures that Jill from Gypsy Brocante sent to me. I adore every single item! Even the wonderful pink velvet bags they came in and ribbon they were tied with. I thought long and hard about how to best use these bits from the past and decided I wanted to do more than one creation. There were too many items that deserved to be a focal. Hope you will look at all these photos enlarged to see the detail of Jill's soup mix.
I mixed Jill's china pendant, key and beads with some items from my own collection to create a necklace rosary. I had a larger scale crucifix and an odd rhinestone ear ring that fit perfectly in the color scheme.This piece reminds me of my grandmother, whose favorite flower was a pink rose. Her china had lovely pink roses on them:) I intend to add to this piece later on by removing  the key and adding a locket with her photograph. I have a small photo that is hand-colored and has this color palette. It will be perfect!!
This piece can be a headband or a choker. It is twelve inches long and has ample silk ribbon to use as tie back. I used the vintage rose pin, pink and white beads on this piece with vintage lace and crochet and pink silk sari ribbon. Ribbons are from  Lashell at Designtalentedone.etsy.com
Another religious themed piece. I used one of my raku icons with Jill's rhinestone closure, and rhinestone and glass  beads. I attached the focal grouping to an 18 inch necklace of several kinds of pearls,silver beads, and my raku beads that I  wire wrapped in segments and put together. With Jill's beautiful clasp, I can take the focal group off and attach to a simpler silk ribbon or chain and wear closer to neck. Will be gorgeous peaking through a cotton open collar blouse with a vintage jean jacket.
And last ..but still with beads left over...is this cuff. The focal is another of my raku icons. Jill's rosary pieces, crucifix, paper rose earrings are attached to vintage lace, silk and there are vintage glass buttons and even a silver dragonfly from my collection in the mix.


I am anxiously waiting to see what Jill has mixed together with my bead soup ingredients.

I have shown you mine...now go take a look at all the amazing work by over three hundred artists who have patiently and lovingly worked with their partners soup mix. If you click on the title above you will go to Lori's posting for the Bead Soup Blog Party and find links to all the artists participating. 

And most important.... there are not enough words of thanks and praise for Lori Anderson and her tireless work to bring this all together. I am humbled by her passion and energy:)

Thursday, September 15, 2011

Experimentation With Resin...Can Be a Sticky Business


I have been wanting to try imbedding items in resin for ever so long.  I recently created some deep well bezels in raku, some unusual in shape. In this experiment I have three standard cabochon shapes to fill and a little boys head.  I gathered up a few of my mini-raku pieces and odd supplies and started down the road on a new learning curve:)

I inserted a head pin in the hole I made while the clay was wet...pulled it tight and anchored from the outside with a plasticine clay. Thought I had the hole completely closed off...but the resin will flow through the smallest of openings. A small amount did flow to the outside of the bezel.  What I  did not expect was the plasticine clay  bonding with the resin so well:)

This piece turned out pretty well. I coated the interior well with a black pigment acrylic paint. A white moon shape/face is covered by  a small golden capiz shell I found at the beach this summer. I wasn't  sure how the resin would react with the shell...but was very pleased. The Ice Resin made the shell translucent, so you can see a faint moon face below.  The bat was a paper thin raku piece...another experiment...too fragile to use alone, it works well in this piece protected by the resin. I coated the over lapping wings with the resin front and back...and was happy with the strength it offered.

I threaded small garnets on the head pin to represent drops of blood.


This piece is one of my raku boy's heads that I made hollow to use as a bezel. Another found sea shell, vintage paper clipping of the word Creation, two watch gears and two miniature raku wings with raku frozen Charlotte are included in this piece. That's a lot of things to get into a one inch head:) I painted the interior gold. Everything was arranged before I poured the resin except the paper. I used a plastic dropper to fill the voids carefully without shifting the pieces. The dropper worked well for this purpose. The paper was layered on the wet resin surface and all left to dry. Next day I domed the resin to cover the paper and rest of Charlotte.


This off the wall oddity has two watch gears, two Milagros and a common house fly encased in the resin. This photo shows the first fill of resin. Next day I domed the resin to completely cover the fly. The background is raku glaze...I had fired this piece on both sides. Same problem with resin seeping out from head pin hole. The fly looks like a broken nose...until you look close and see it is a fly instead:)


And this piece has one of my mini raku Charlottes, mini wings and two watch gears. One to prop up the wings and one used as a halo for the angel. This bezel was raku fired on both sides as well. I love the depth to this piece. I did get some air bubbles...all to one side.  This photo shows the piece with first resin fill.

I have not figured out how to photograph the pieces with the resin to show their depth. There is a warmth and charm to them and a nice weight to the finished pieces. I want to touch the smooth surface  and bring close to see what is captured.

What I learned from my first resin adventure ...
don't put holes in bezels unless I can find a better way to seal the hole with headpin
level by eye is not level by resin standards
keep a long sewing needle or such handy to burst bubbles or arrange the tiny items
keep a good pair of fine point tweezers handy...fingers are not nimble enough to arrange
wax paper is a must to keep overflow contained and not leave traces on bezel

This is an amazing tool for creating. I also painted some resin on a crumbling old book page to see what it would do. Love that look as well. The resin makes so many things it touches partially transparent.

I look forward to my next adventure... I think I will layer many layers of resin and items to get a real depth of field to the piece. Got to do some collecting though, and remember that what I put in the resin...stays in the resin:) 

Sunday, September 11, 2011

Remembering....

Words are only a pale shadow to what the heart feels...the depth of pain, of sorrow, of horror and continued fear. Remembering does not ease these feelings...but it gives me hope. I remember that for a short time the world community was as one. I wish that the catalyst had not been  tragedy. I wish with all my mind and body that respect for another's faith...what ever  that faith is that draws us each closer to wholeness...could be honored by all. That faith would bind us together rather than send us in separate directions. That our combined faiths would take humanity into a Golden Age of love and respect for all living things. That our hearts would be on fire...and our souls burn bright from those flames...that everyone who saw those flames would ignite  as well. That that glow from our combined love and respect would make the sun pale in comparison.  I am remembering...

Sunday, August 28, 2011

Bead Soup Blog Party Time is Soon! And This Is What My Partner Sent...

The clasp is from an old rinestone necklace closure...wonderful!! There is a porcelain rose pin:) And a lovely china pendant/connector.

Glass beads, rosary parts, crucifix...and the list goes on and on!
I have already been inspired!! As you know...I don't do alot of putting together:) I enjoy seeing what others do with my little treasures. But the Bead Soup Blog Party forces me to put on the assemblage hat and when that happens the ideas flow:) These two cuffs are directly inspired from looking at what Jill sent!! They are far from being finished...but the beginnings have pleased me:)
Now all I have to do is to put my wondrous strange twist to Jill's collection..and do it justice. It is quite pretty just displayed on its own!!

Wednesday, August 17, 2011

Bead Soup Blog Party Time is Soon! And NO... These Are Not What I Sent My Partner...

I am delighted with my pairing of partners in this seasons Bead Soup Blog Party! Yesterday I sent out my package of treasures to Jill Harris of Gypsy Brocante
This is my second party and the last was so much fun...such a challenge to create with beads I did not pick out:) But a good challenge! 

While gathering goodies for Jill, I decided to do a few more kits. This is fun!! I plan to do more for my shop. This kit has one of my raku focal beads and silks by Designtalentedone.etsy.com and stash beads.

Tuesday, August 16, 2011

The Urchins Are Coming ..My Urchins Found An Amazing Home ...


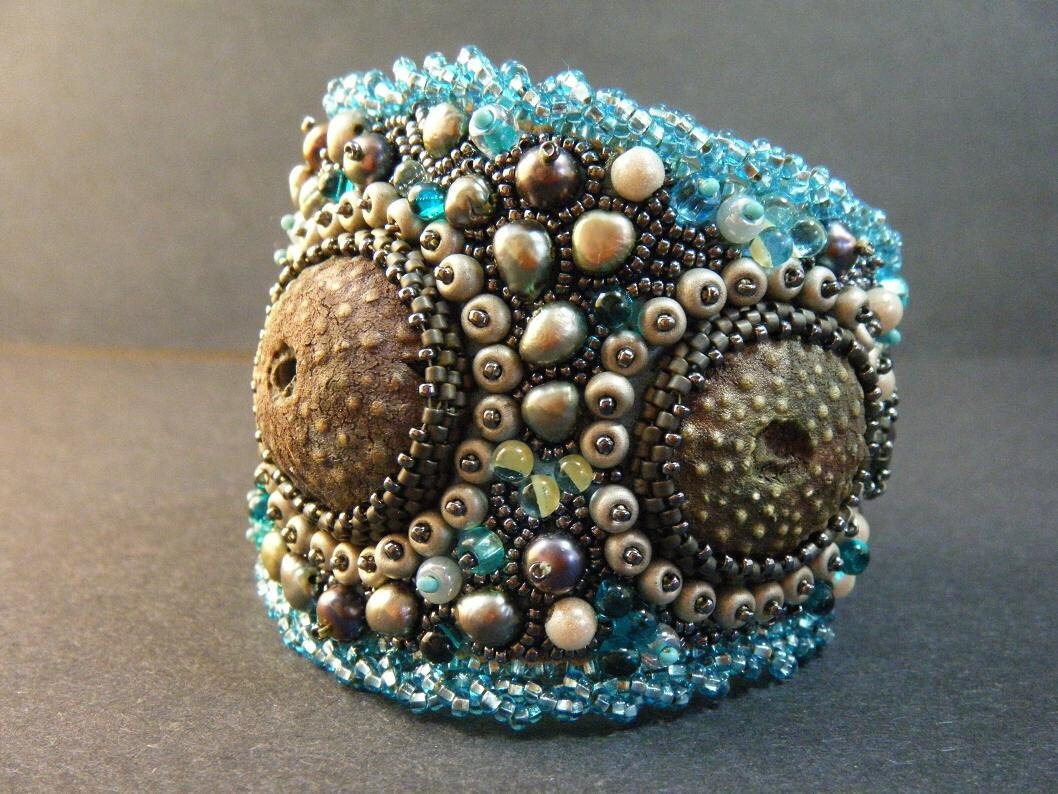
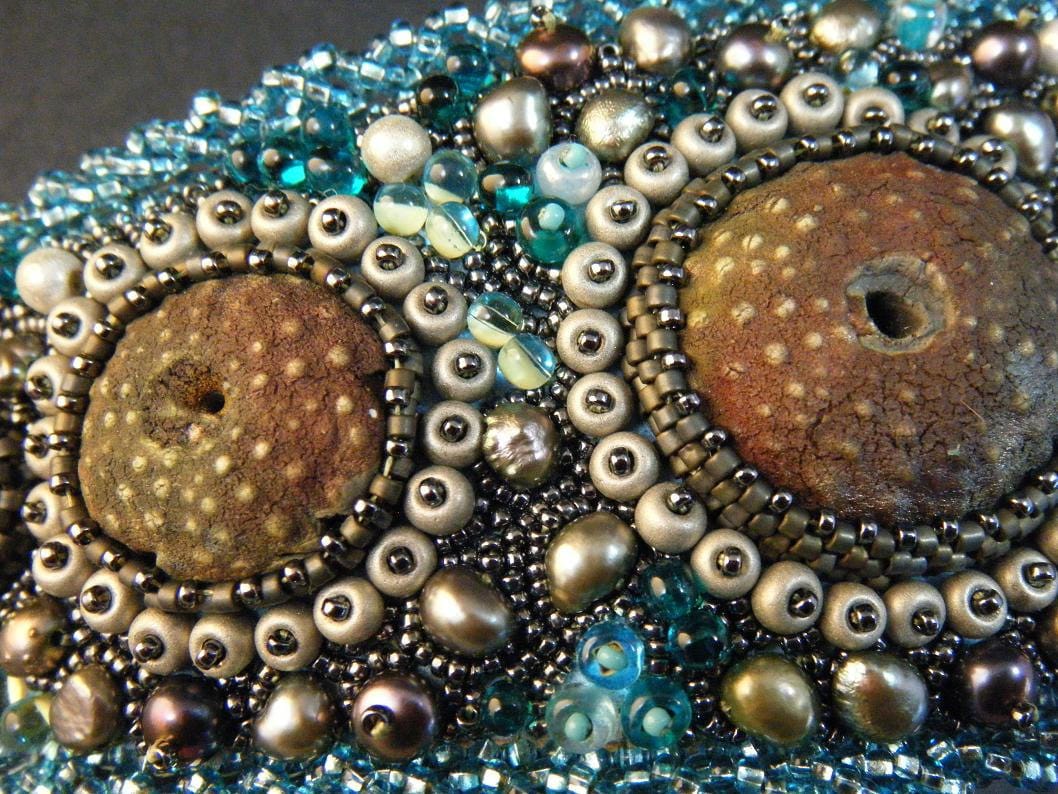
Kinga of Crimsonfrog.etsy.com says of this piece..."The inspiration for this piece came when I saw the three raku focals made by Wondrous Strange Designs.

They were just so cute and I LOVED the glaze with the shifting colors of blue to purple , and wanted to give them a home by designing their oceanic surroundings.

So I used lots of pearls, shiny miracle beads,and seed beads in a bunch of diffeent shades of blues and teals to compliment them, and added a sea foamy fringe to finish it off nicely.

The backing is sheep skin in a light metallic green with a diamond finish, very glitzy. I used two trailer hitch type clasps made out of copper, because they are pretty and they age well ,and they are just so easy to use.. "

Read more about Kinga's creations on her blog...here... http://whiterabbitjewelry.blogspot.com
Or visit her amazing shop by clicking on the title above. Enjoy!!

Monday, August 8, 2011

Exotic ...Colorful...and Such Sweet Sentiment....


LaShell of Designtalentedone.etsy.com is a must visit shop if you are into silk sari ribbon...or over the top crochet design. I love my visits there...and have a small wall in my studio dedicated to her vibrant colored ribbons. They make me smile every time I pass by them...and I have to reach out to touch as well!

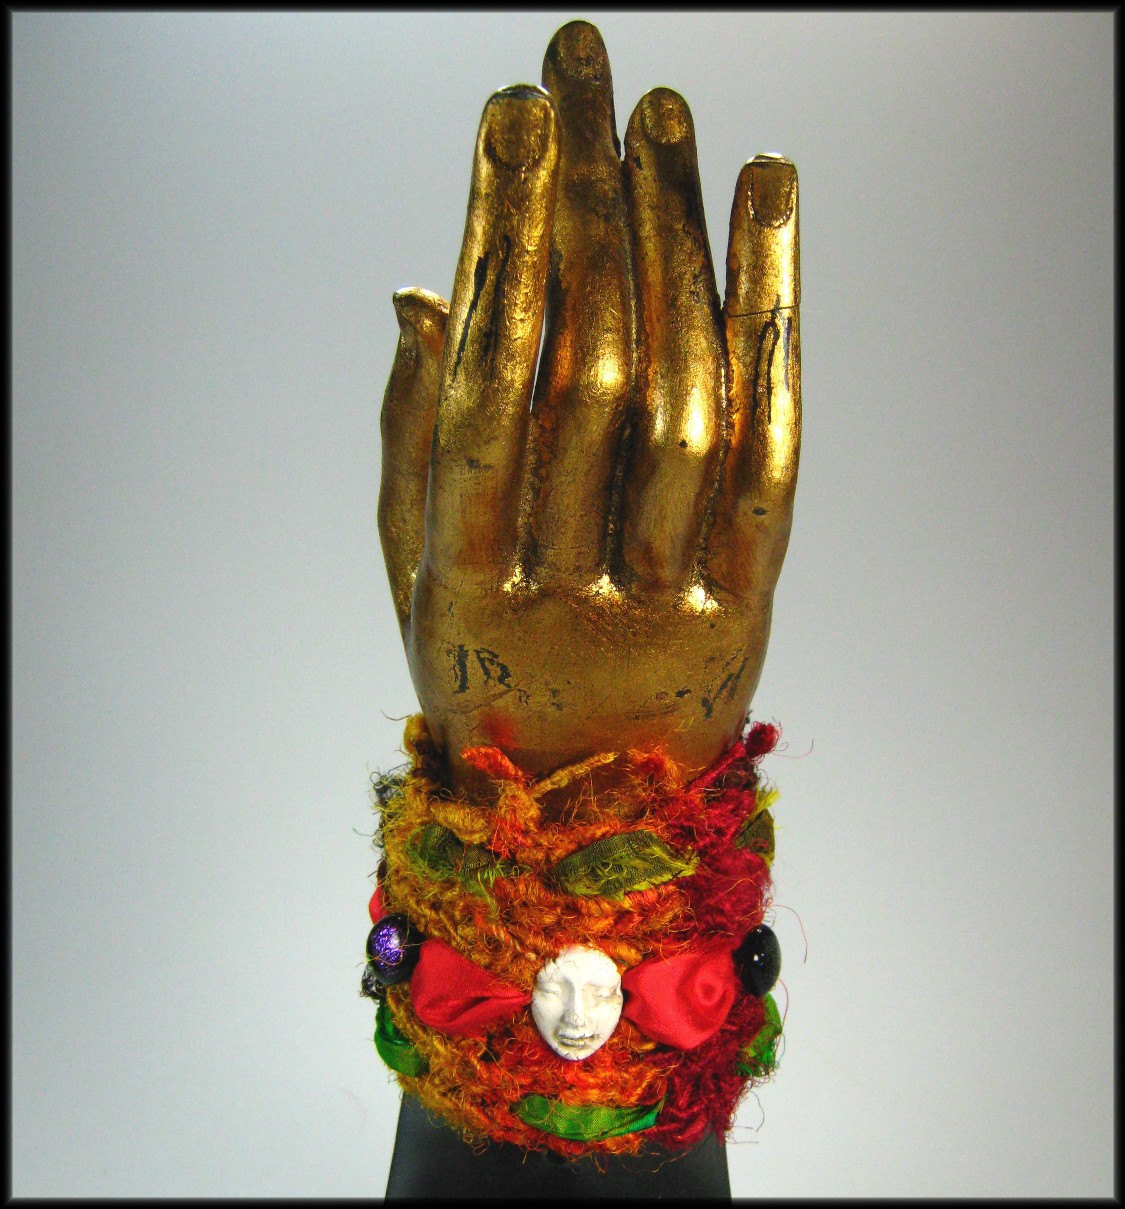
This cuff features one of my little faux ivory faces...that LaShell fell inlove with. We have a mutual admiration club membership you see:) And this piece is dedicated to little old me:) Here is what she says about the cuff...

This cuff fits a 5.75" measurement wrist and up. The silk sari ribbon ties make it adjustable. The width of the cuff is 2 1/4" wide. I have a fired clay ancient face placed center as the focal point. I made 2 beautiful purple and black Dichroic glass buttons. Flaming red/orange silk sari ribbon runs throught the center and I have 2 green tones running on the outside for ties. I used 100% silk handspun nubby silk yarn in yellow, orange, red and browns. This cuff has beautiful color and artistic punch. You will be notices as you wear this art piece.

I have a shop that I love, and love her the seller Dorcas at "Wondrousstrange" Her firing of raku clay and other clay items are out of this world. I dedicate this listing to her for she has given me a gift, I have taken her gift and made it into a wonderful wearable art piece.

thank you for looking"

Click on the title above and you will be transported to a shop full of color and original design work.A pleasure to work with and a delight to share ideas with. Hope you will take time to visit her shop:)

Friday, July 29, 2011

New Designs Are Always Such Fun!

Geometry Squared...Two Raku Deep Well Bezel/pendants

Wonderful geometric wells in raku. This was an experiment to see how if I could do a double side glaze and have a well for treasures and resin. My thinking is that the back can be filled with shallow objects then resin filled. Open back. Fired in loops for attaching to your project. 
I hope to do several shapes in this design. I have not tried the resin yet...but think this will work great! I think I am going to embed on of my mini Charlottes with a bouquet in one and see what happens:)

Tell Me Your Secrets....It's What's Underneath That Counts...Double Sided Glazed Raku Pendants

These are a re design on my raku leaves. I am making them thicker and adding a detail on the reverse. I like surprises...and these will be striking from both sides:)


With A Flourish...Stoneware Round Two Hole Buttons

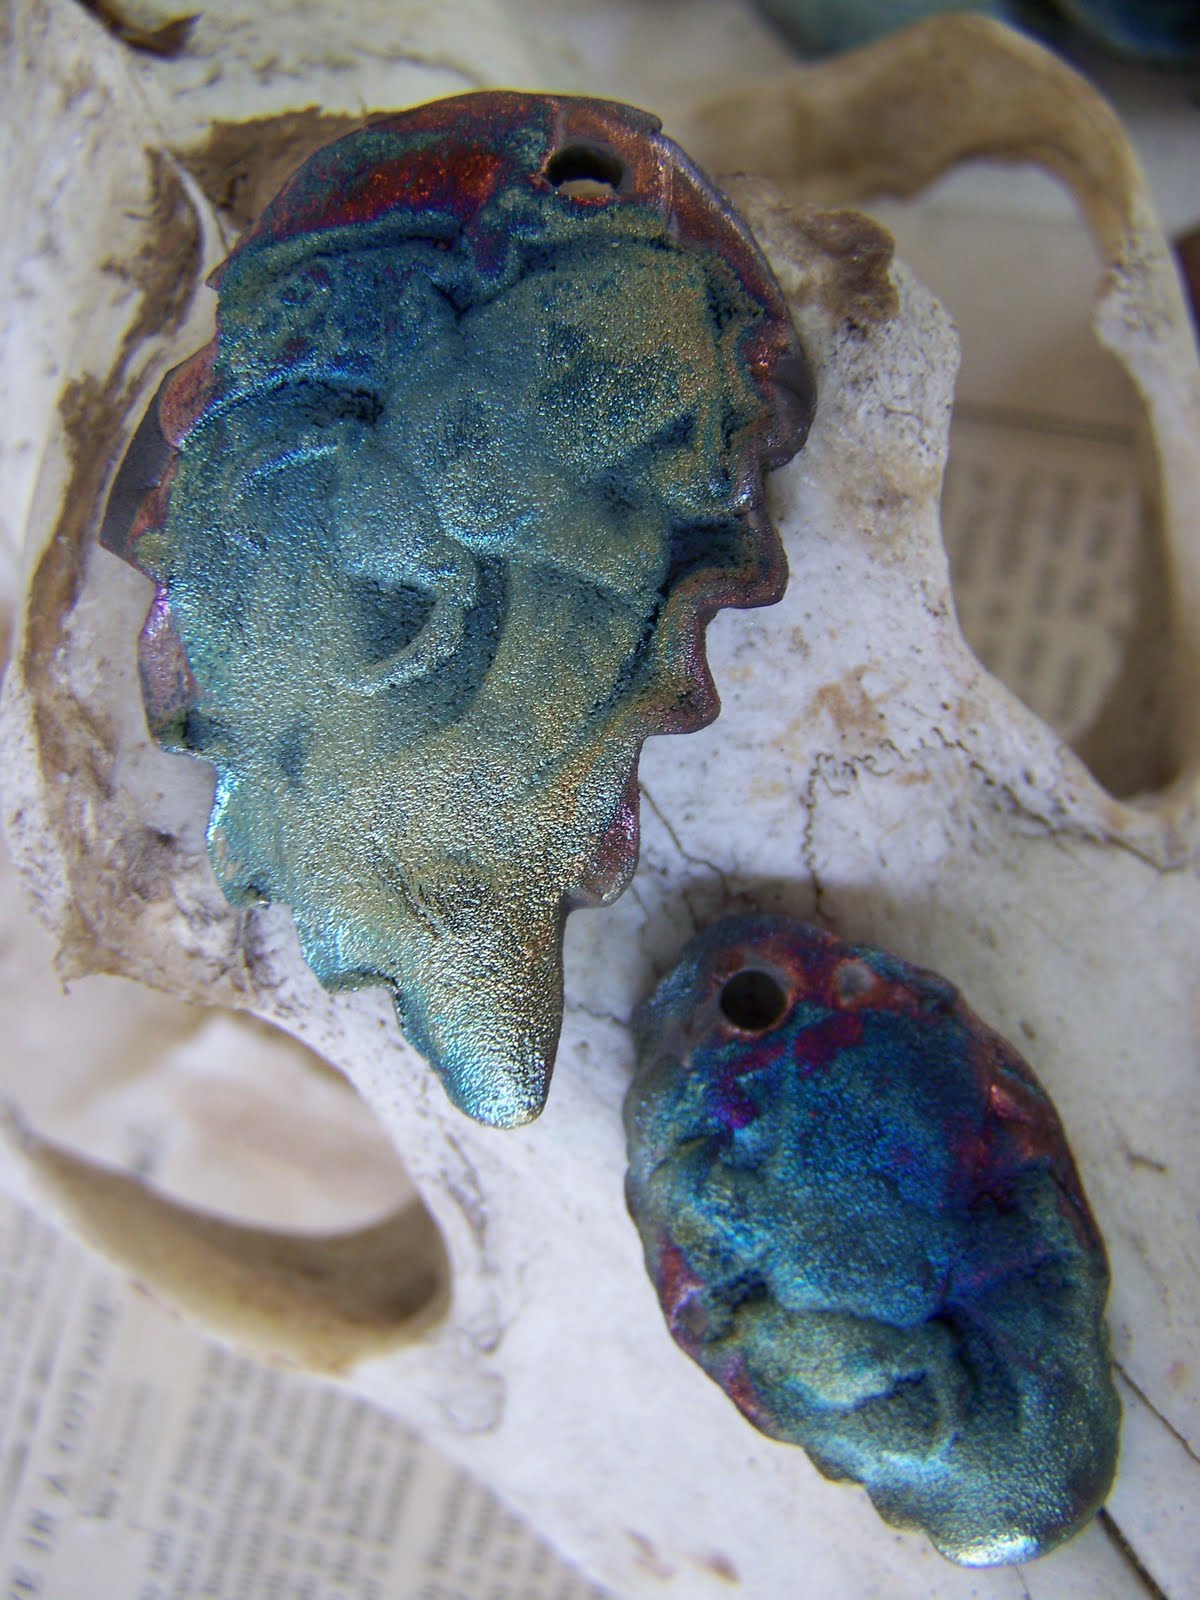
These look like bone...see the skull  that they are laying on? Blends well together. These are stoneware, but I have used high density pigment paints to create the bone look. I am hoping to do many of my designs in this color combination.

From Here to Eternity... Raku Lentil Bead

These Raku Lintel Beads are quite lovely. Hollow inside, with a hole through top to bottom for stringing. This was a great firing, frosty gold,copper,blue,violet,green flashing. These are not perfectly round...they are hand formed and close to round.

The lintel bead measures approx 1 1/2 inches in diameter and is glazed and embossed on both sides. Each bead is unique as each is embossed with my mold of an original design, cut, partially dried to dome shape, then two disks are then sanded to form a flat surface and attached to form the hollow bead. This is all done before the leather hard stage. A hole is then pushed through top to bottom, and further drying until ready for bisque firing. Beads are primitive in design.

I designed a special firing platform so these could be fired upright and glazed on both sides. The bead is not glued together after firing...it is one piece from the first firing.

As you can see...I have been having grand fun with new designs and altering my old designs. I love my new glaze...the pastel colors are to die for. I have an other one that I am referring to as Ancient Digs because it looks like dug up treasure. Both glazes are rich and play with the light. 

As always...the title above will take you to my shop...if you want to spend some time looking around:)